¶ FM Radio Kit - Tall Boy Printing Guide
¶ Overview
This page describes how to print the Tall Boy enclosure parts using the files in:
/assets/images/fm-radio-kit/projects/tall_boy/print_files//assets/images/fm-radio-kit/projects/tall_boy/printing_notes/
The print_files folder contains individual .3mf part files and a combined project file for Snapmaker U1.
The printing_notes folder contains one slicer reference image and one paired notes file per part/set so you can match orientation, materials, and color-change details.
If you are assembling after printing, continue with the Tall Boy Project Page.
¶ Requirements
¶ Required
- A 3D printer profile compatible with 0.4mm nozzle
- Slicer software that opens
.3mffiles - Tall Boy print files in
/assets/images/fm-radio-kit/projects/tall_boy/print_files/ - Tall Boy print notes in
/assets/images/fm-radio-kit/projects/tall_boy/printing_notes/
¶ Recommended
- Snapmaker U1 profile (notes are based on this)
- PLA filament colors used in the notes (or your preferred substitutions)
- Labeling prints as they finish to avoid mixing parts during assembly
¶ Safety Notes
- Keep hot nozzle, bed, and freshly printed parts away from skin while handling.
- Follow your printer's safety guidance for ventilation and supervision.
- Confirm part identity before assembly so battery-related parts are not swapped.
- During final radio assembly and power-on, verify battery polarity and do not force connections.
¶ Procedure
¶ 1. Choose workflow
Use one of these approaches:
- Open
Project File - Snapmaker U1.3mffor a prepared project baseline. - Open individual
.3mfpart files if you prefer printing parts separately.
¶ 2. Apply base slicer setup
From your notes, the common setup is:
- Nozzle:
0.4mm - Layer height:
0.16 Optimal @Snapmaker U1
Then review each part section below and apply that part's material/color plan and any optional layer-based accents.
¶ 3. Print each part/set using paired notes
¶ Case
Files:
/assets/images/fm-radio-kit/projects/tall_boy/print_files/Case v1.3mf
Slicer reference:
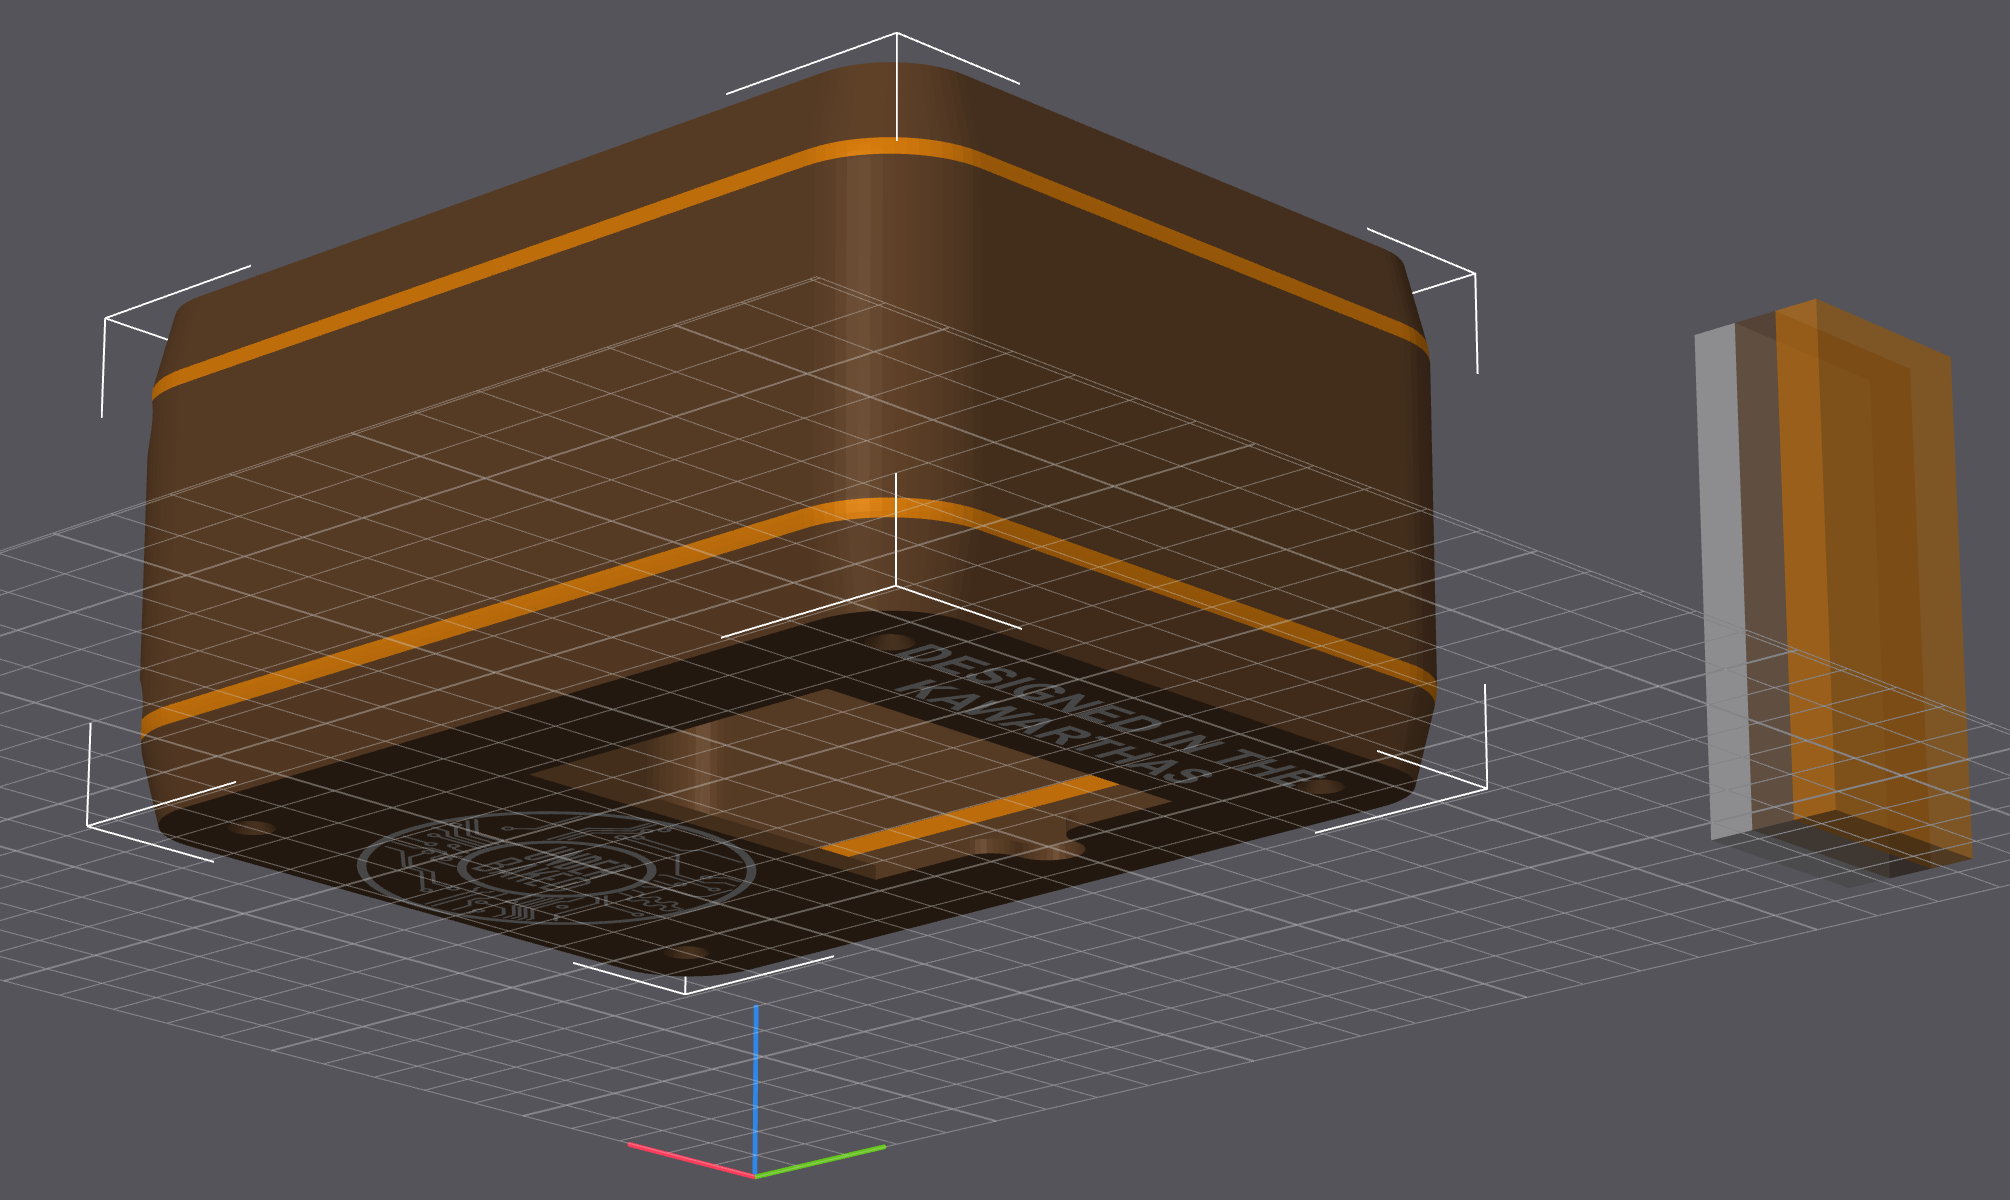
Notes summary:
- Material plan:
- Dark Brown/Cocoa BambuLabs PLA (main body)
- White/Tan Cocoa BambuLabs PLA (featured text/logo on bottom)
- Copper Silk/Bronze PLA (optional, same as feet tip)
- Total layers:
125 - Print time:
52m - Material total:
129g - Color usage in notes:
- Colour 1:
114g - Colour 2:
1(as written in notes) - Colour 3:
14g
- Colour 1:
- Optional copper/bronze strap detail:
- First strap: layers
68to82 - Second strap: layers
356to369(as written in notes)
- First strap: layers
¶ Case Sub Assembly (Battery Box + Cover)
Files:
/assets/images/fm-radio-kit/projects/tall_boy/print_files/Case - AA Battery Box.3mf/assets/images/fm-radio-kit/projects/tall_boy/print_files/Case - Battery Cover.3mf
Slicer reference:
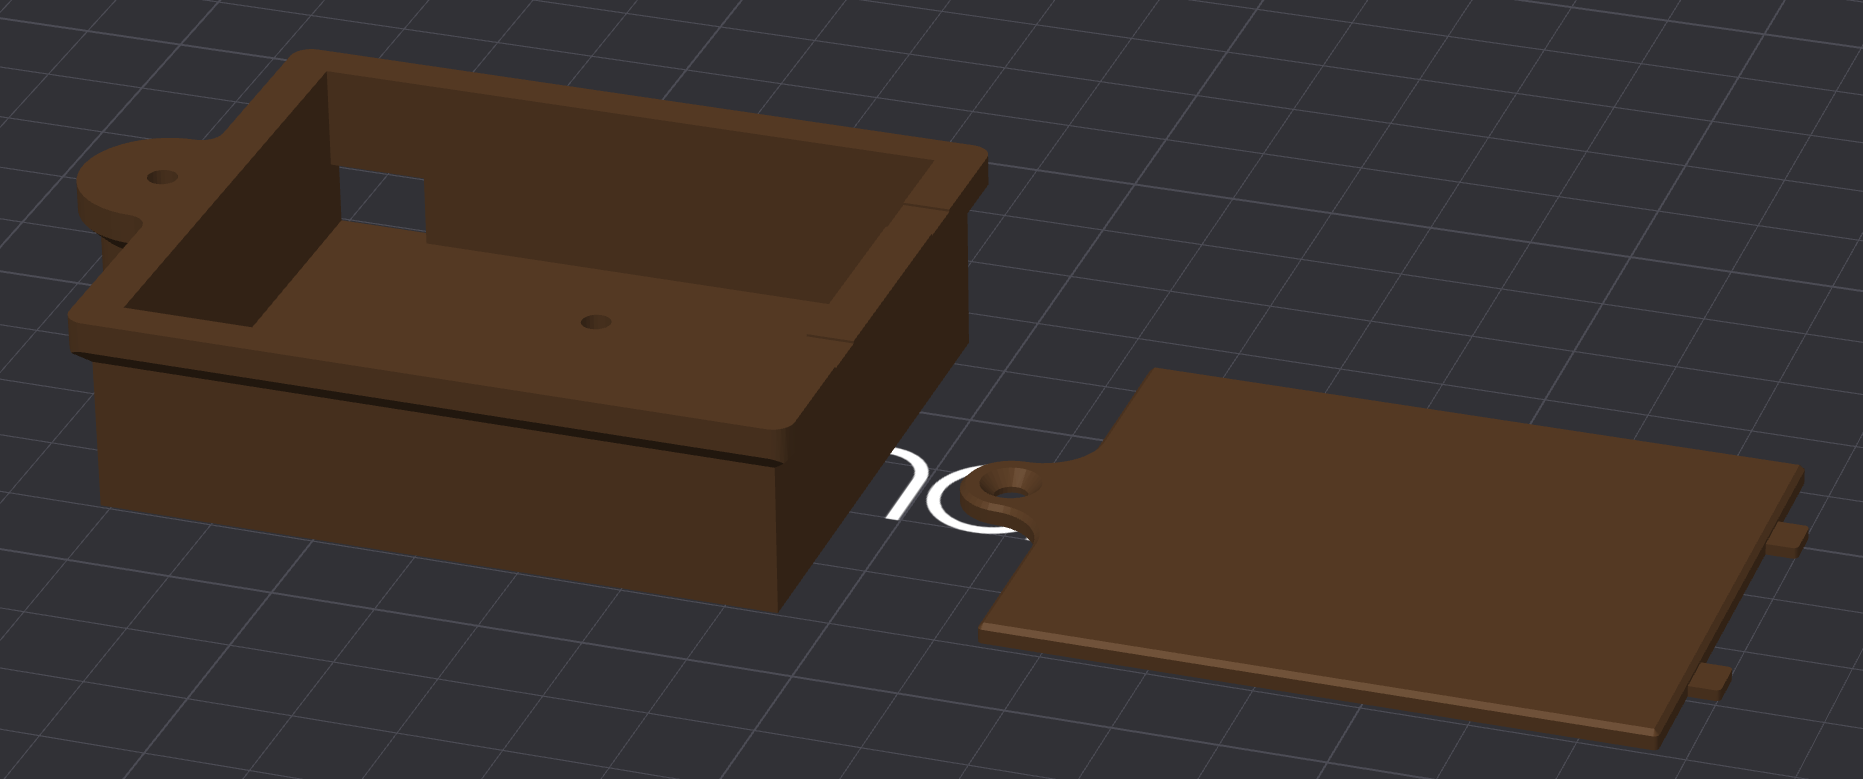
Notes summary:
- Material plan:
- Dark Brown/Cocoa BambuLabs PLA (all pieces)
- Total layers:
437 - Print time:
4h 7m - Material total:
29g - Color usage in notes:
- Colour 1:
29g
- Colour 1:
- Important: AA Battery Box should match case material because it is glued to the case.
¶ Case Feet
Files:
/assets/images/fm-radio-kit/projects/tall_boy/print_files/Foot.3mf
Slicer reference:
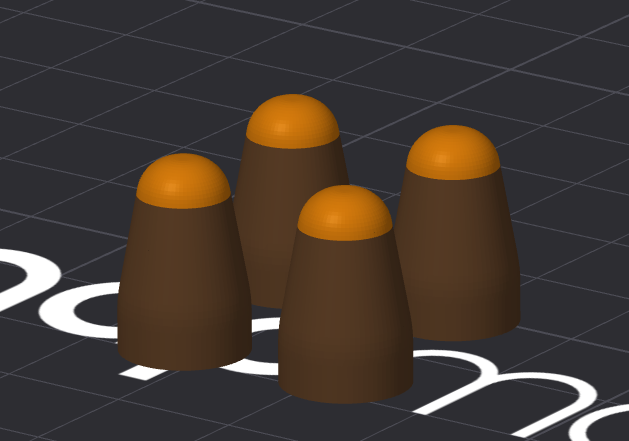
Notes summary:
- Material plan:
- Dark Brown/Cocoa BambuLabs PLA (main body)
- Copper Silk/Bronze PLA (optional tip of feet)
- Total layers:
94 - Print time:
22m - Material total:
5g - Color usage in notes:
- Colour 1:
3g - Colour 2:
2g
- Colour 1:
- Optional copper tip detail:
- Layers
77to94
- Layers
¶ Grill Body (Main Assembly)
Files:
/assets/images/fm-radio-kit/projects/tall_boy/print_files/Grill Body.3mf/assets/images/fm-radio-kit/projects/tall_boy/print_files/Grill Body Alt 1.3mf
Slicer reference:
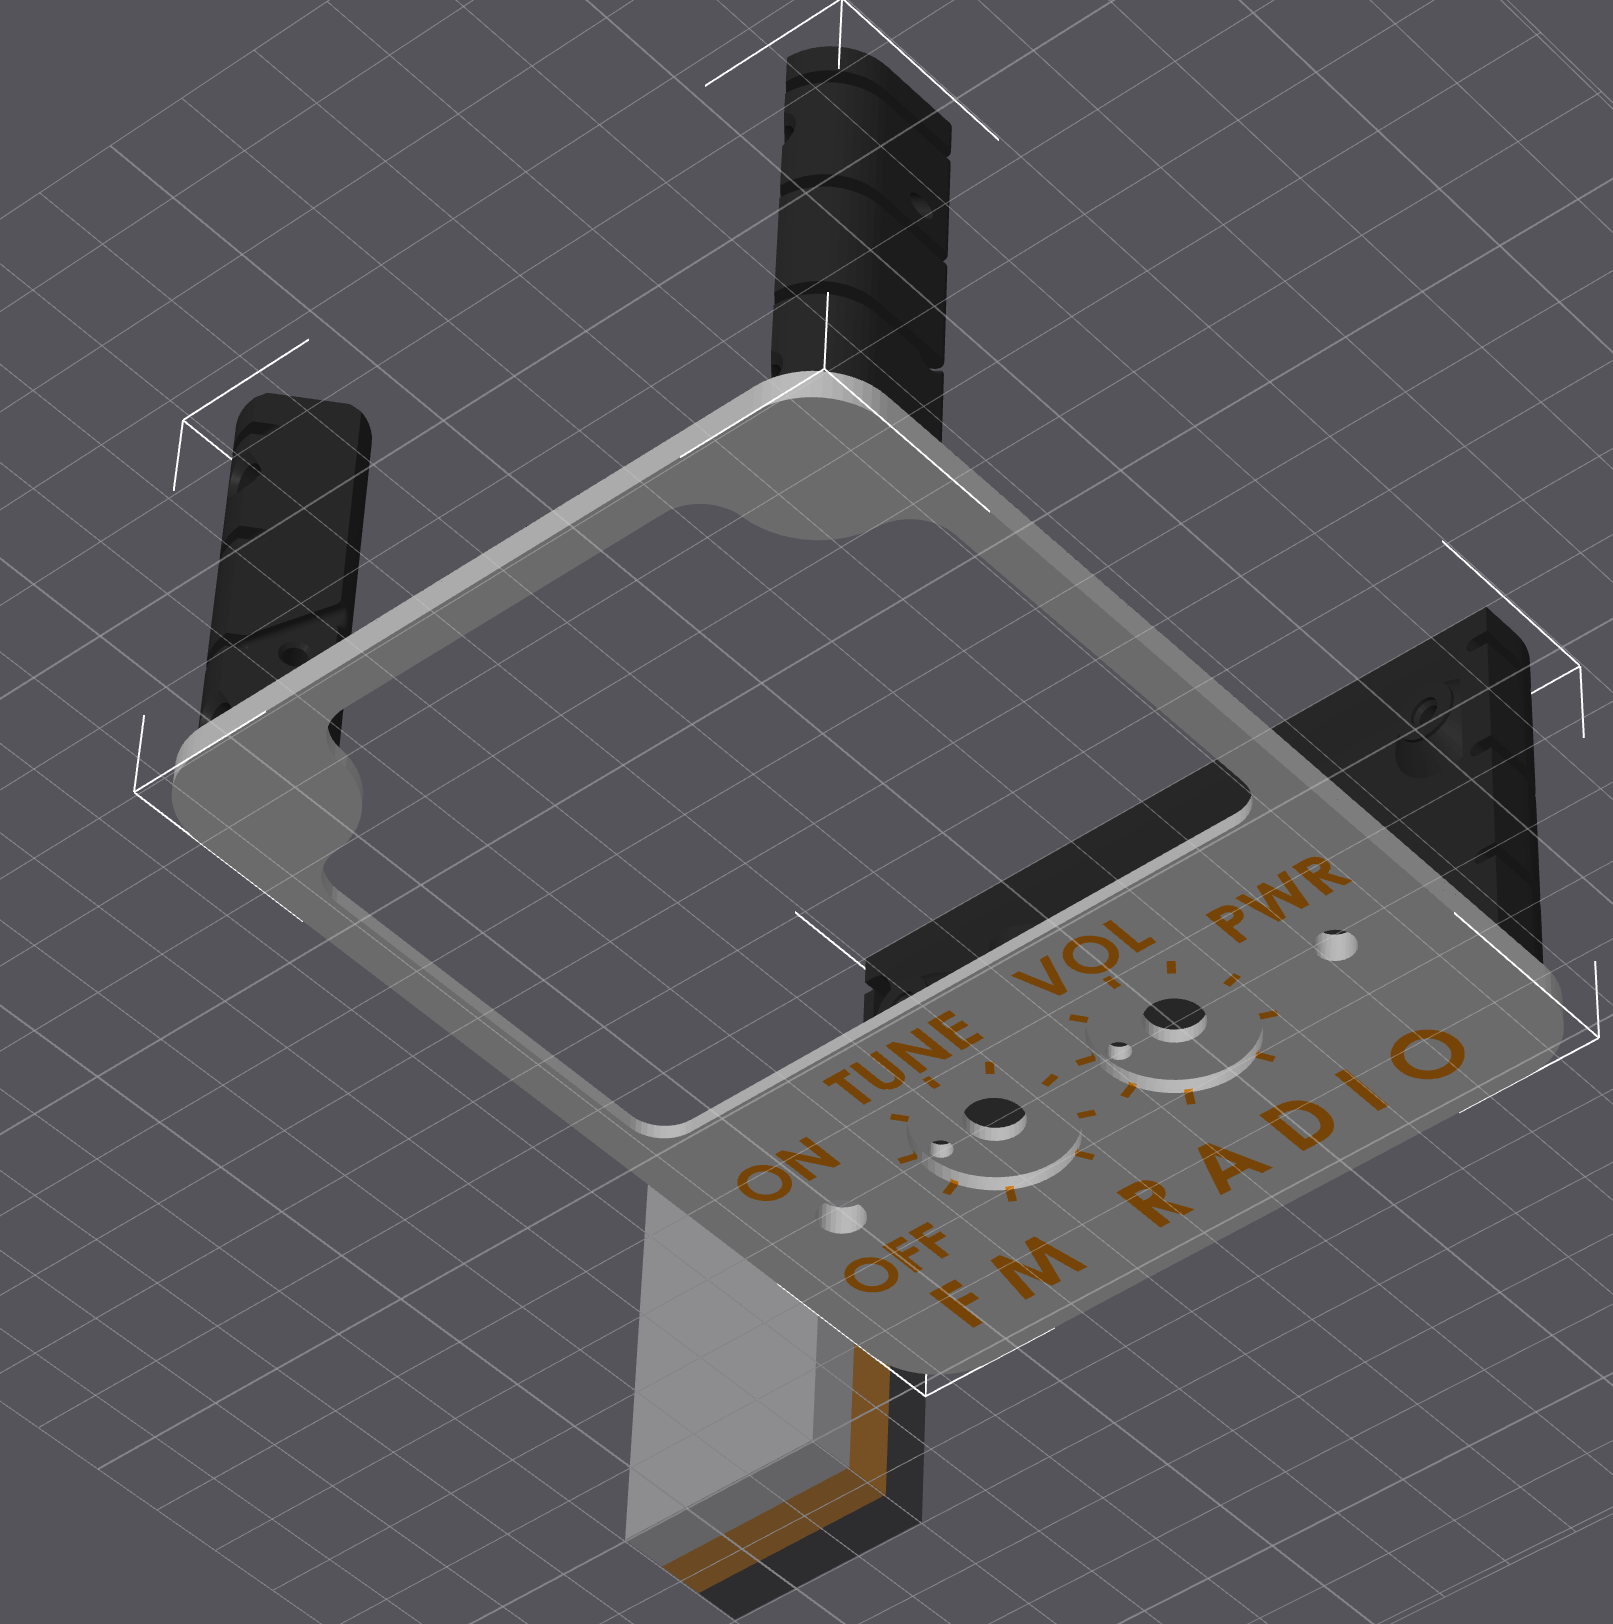
Notes summary:
- Material plan:
- Black PLA (main body)
- White/Tan Cocoa BambuLabs PLA (face of main body)
- Copper Silk/Bronze or Dark Brown/Cocoa BambuLabs PLA (front-facing first-layer features)
- Total layers:
369 - Print time:
2h 24m - Material total:
58g - Color usage in notes:
- Colour 1:
51g - Colour 2:
15g - Colour 3:
2g
- Colour 1:
- Important: AA Battery Box should match case material because it is glued to the case.
¶ Grill
Files:
/assets/images/fm-radio-kit/projects/tall_boy/print_files/Grill - Original.3mf/assets/images/fm-radio-kit/projects/tall_boy/print_files/Grill - Vertical.3mf
Slicer reference:
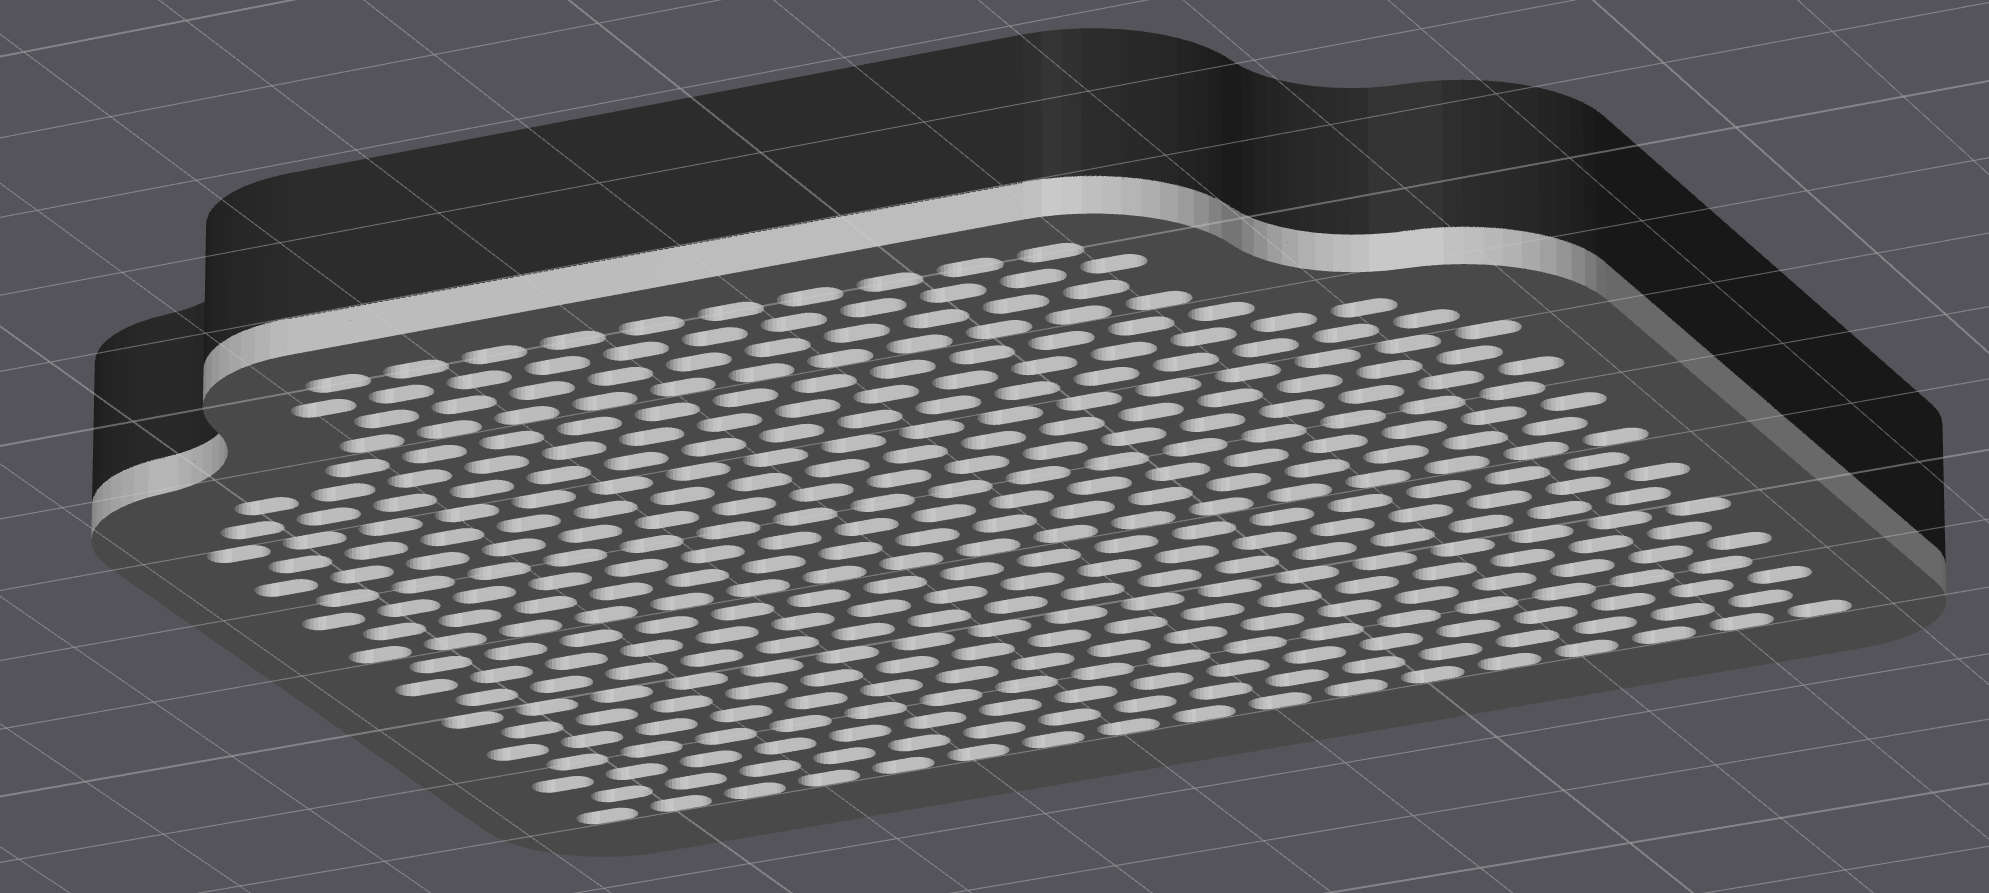
Notes summary:
- Material plan:
- White/Tan Cocoa BambuLabs PLA (face of main body)
- Black PLA
- Total layers:
70 - Print time:
2h 8m - Material total:
19g - Color usage in notes:
- Colour 1:
11g - Colour 2:
8g
- Colour 1:
- Note: Face should match the Grill Body face.
- Optional simplification: Can be printed as one piece if hidden inner color is not a concern.
¶ Knobs
Files:
/assets/images/fm-radio-kit/projects/tall_boy/print_files/Knob v1 v2.3mf
Slicer reference:
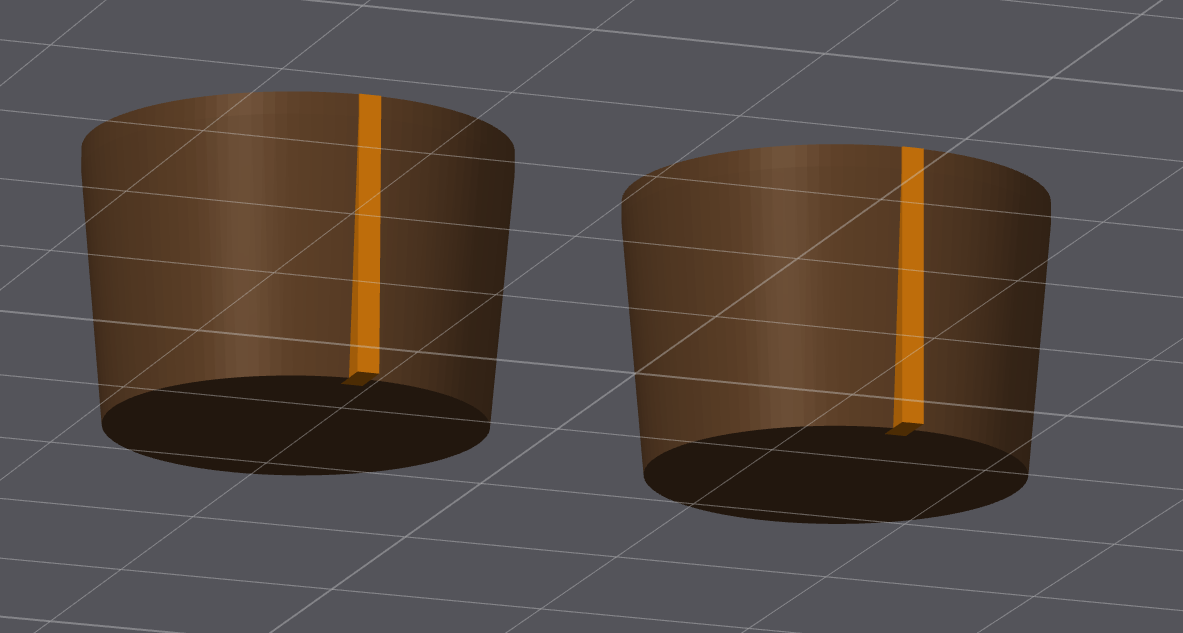
Notes summary:
- Material plan:
- Dark Brown/Cocoa BambuLabs PLA
- Copper Silk/Bronze PLA (markers)
- Total layers:
78 - Print time:
35m - Material total:
9g - Color usage in notes:
- Colour 1:
6g - Colour 2:
3g
- Colour 1:
¶ Speaker Mount + Antenna Clip
Files:
/assets/images/fm-radio-kit/projects/tall_boy/print_files/Speaker Mount.3mf/assets/images/fm-radio-kit/projects/tall_boy/print_files/Speaker Mount Bracket.3mf/assets/images/fm-radio-kit/projects/tall_boy/print_files/Antenna Clip.3mf
Slicer reference:
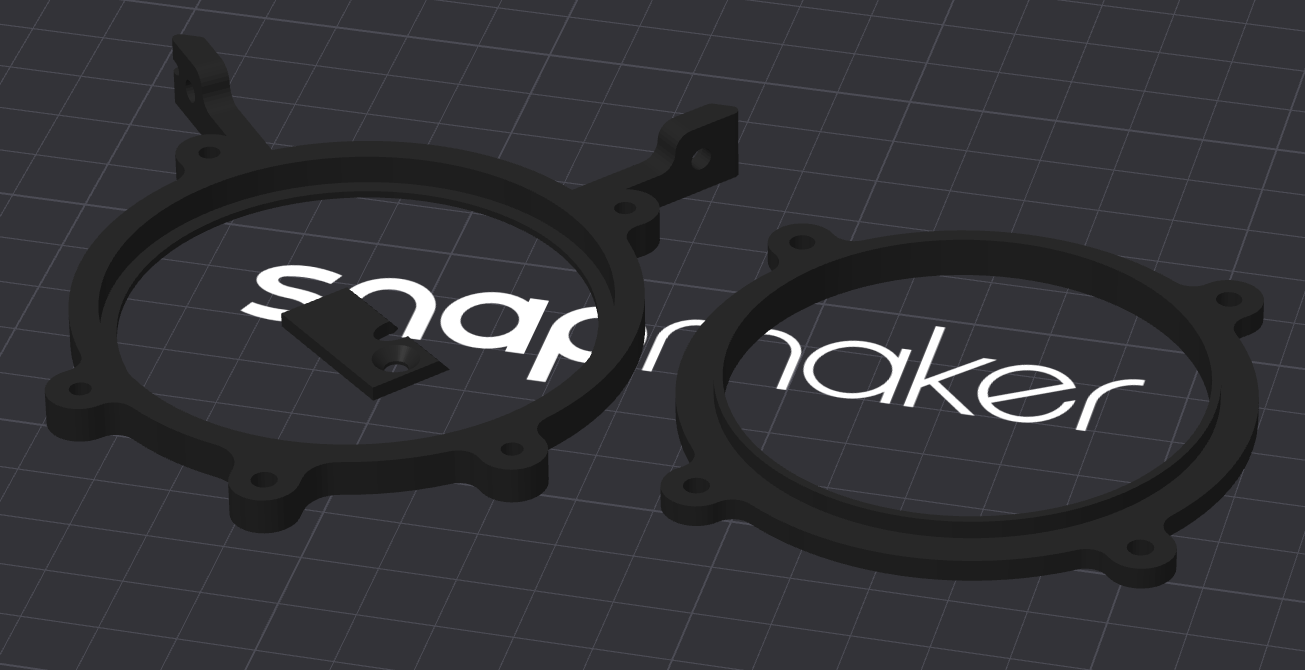
Notes summary:
- Material plan:
- Black PLA
- Total layers:
62 - Print time:
39m - Material total:
13g
¶ 4. Verify complete print set before assembly
Before assembly, confirm you have printed all required parts and that cosmetic parts match your chosen color scheme.
¶ Troubleshooting
¶ A part does not match the notes image orientation
- Re-open the paired
.pnginprinting_notesand compare placement/orientation before slicing. - If needed, reload the individual
.3mffile instead of a copied scene.
¶ Colors/details are not appearing where expected
- Check layer-based color notes for optional accents.
- Verify the part uses the intended multi-color setup and order.
- If using a single-color print, ignore optional cosmetic transitions.
¶ Fit mismatch between case and battery box
- Ensure the AA Battery Box is printed in the same base material as the case (per notes).
- Reprint affected part pair together if shrink/finish differs noticeably.
¶ Surface quality or small detail issues
- Keep to
0.16layer setup from notes for baseline results. - Re-run with slower external walls or adjusted cooling as needed for your printer profile.
¶ Revision Notes
- 2026-07-04: Initial Tall Boy printing guide created from
print_filesandprinting_notescontents.